Amazon S3 Tables - Creating an S3 Table

Estimated Reading Time: 10 minutes
Last Updated: 2025-01-02
Estimated Completion Time: 1 hour
Disclaimer: The details described in this post are the results of my own research and investigations. While some effort has been expended in ensuring their accuracy - with ubiquitous references to source material - I cannot guarantee that accuracy. The views and opinions expressed on this blog are my own and do not necessarily reflect the views of any organization I am associated with, past or present.
Introduction
As of January 2025, S3 Tables is still in Preview Release, and while in theory the AWS Labs S3 Tables Catalog library should allow any Spark application to interact with S3 Tables, we will use Amazon EMR, following the tutorial listed in the AWS documentation here. I will augment these steps with images and workarounds for any issues I found when trying this out.
Before we start, please note that to delete anything you create here you may need to use the AWS CLI and that tidying up the resources will take a couple of days; the table bucket cannot be deleted immediately.
With any further ado, let’s create an S3 Table!
Creating an S3 Table through Amazon EMR
These steps will assume that you are operating in a sandbox account to which you have administrator access. In the event that you want to use S3 Tables in Production it is your responsibility to secure your infrastructure according to AWS best practices and your own security appetite.
Additionally, as we will be creating and loading an S3 Table, make sure that you have uploaded one or more files with data for your table into a General Purpose S3 bucket. This worked example will use a CSV file for a made-up dataset called transaction_details.
1 - Enable AWS Analytics Integration
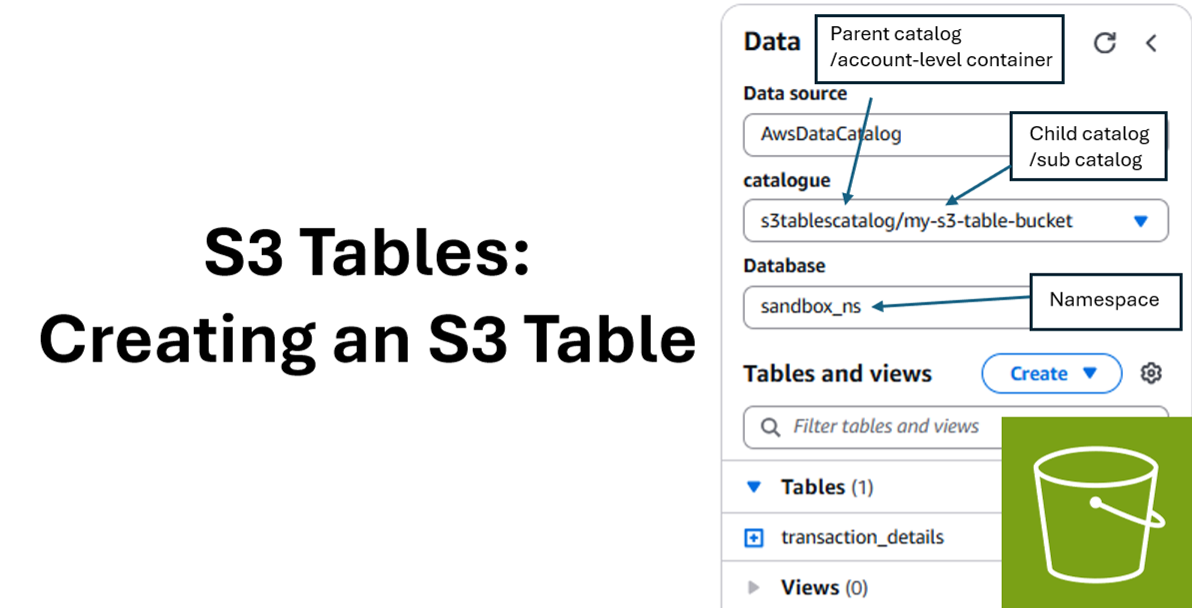
Much of the setup relies on using AWS Lake Formation, Glue, EMR and Amazon Athena. To do this, we have to enable the integration of S3 Tables with AWS Analytics services. This creates the account-level container/parent catalog called s3tablescatalog[1] and an IAM role called S3TablesRoleForLakeFormation for Lake Formation to read the S3 Table Buckets.
Open up the AWS Management Console and navigate to the S3 service. Click on Table buckets on the left-hand panel.

You will see the following page:
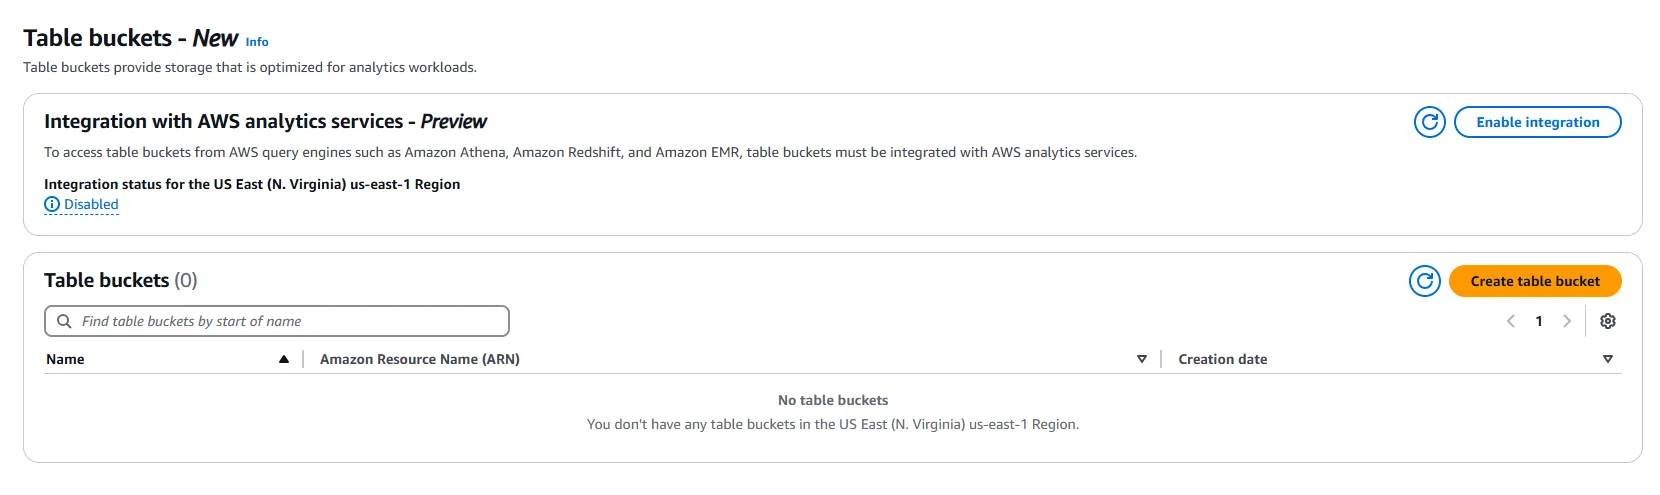
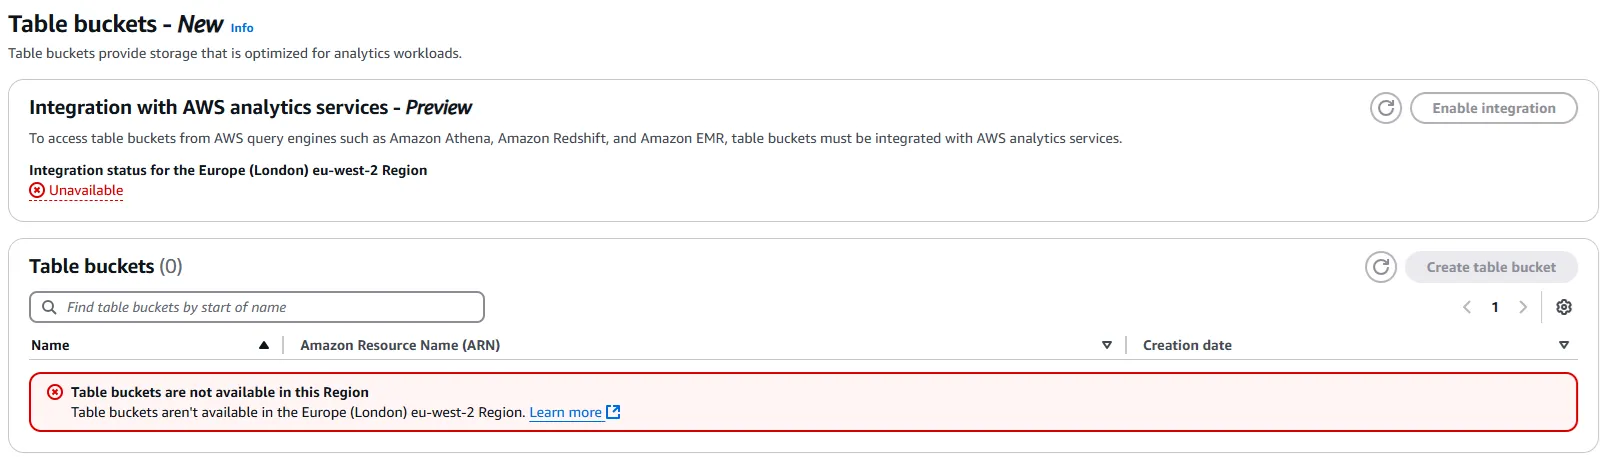
If the Enable integration button is greyed out, then you may not be in a region that supports S3 Tables. I will use the us-east-1 region for this post.
Click the Enable integration button.
In the next page, there will be a further orange Enable integration button. Click this to finish the process. You should then see something like this:
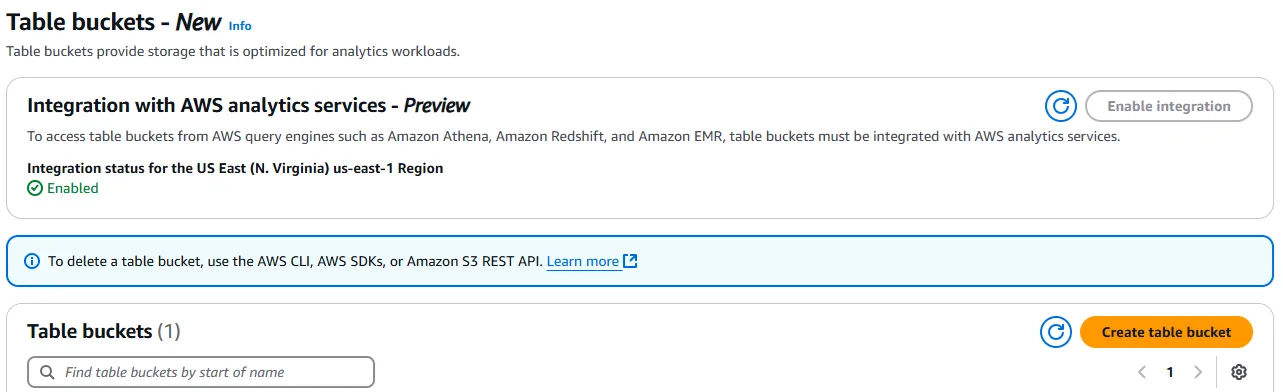
2 - Create an S3 Table Bucket
Now that the Integration status for your chosen region is Enabled, press the orange Create table bucket button. In the next page, enter a name for your bucket, following the bucket naming rules.
Note that while General Purpose buckets need globally unique names across all AWS accounts, S3 Table Bucket names need only be unique within the AWS Account per region. Let’s use the suggested name of my-s3-table-bucket and press the Create table bucket button.
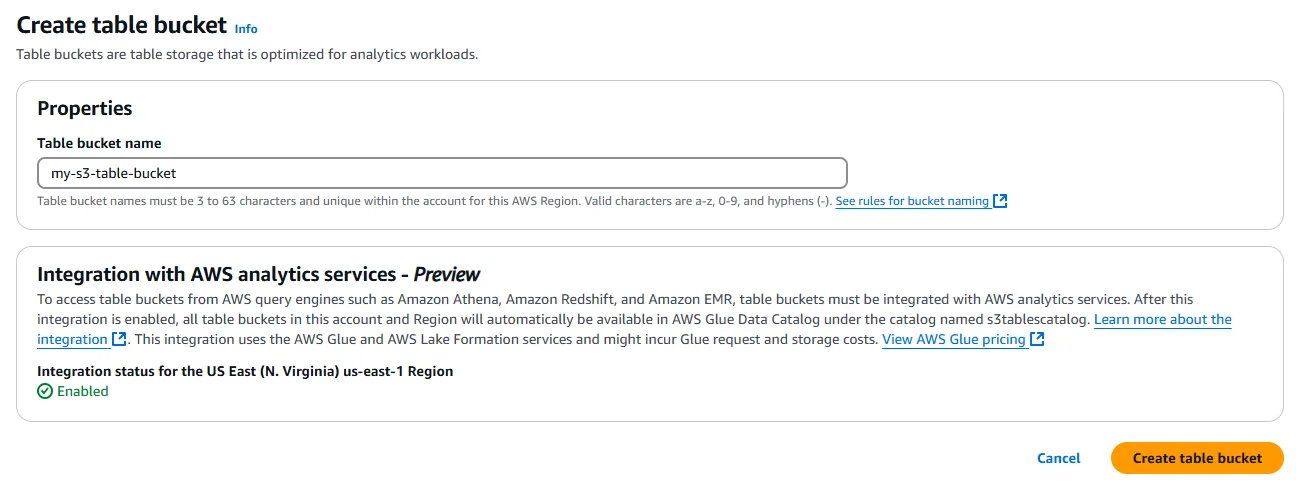
A new S3 Table bucket called my-s3-table-bucket will be created. Copy the table bucket ARN to your clipboard for use later.
Note that S3 Table Buckets can also be created via the AWS CLI, SDK or S3 REST API.
3 - Setting up an AWS EMR cluster
The next structure to create is a Namespace, which is a construct to logically group subsets of S3 Tables within an S3 Table Bucket. A Namespace maps to a Glue Database when integrated with the Glue Data Catalog. For more information, please review the AWS documentation here.
Namespaces can be created using a AWS CLI, SDK and S3 REST API command, but as we want to populate the eventual S3 Table we will instead use an Amazon EMR cluster.
The AWS tutorial for this uses the AWS CLI to create an IAM policy, role and the EMR cluster itself. However, we need to associate an EC2 key pair with the cluster in order to SSH into the primary node, and I encountered issues with this. As a result, we can set everything up using the console instead, including the required IAM roles.
Warning: Throughout this section, I will use the default VPC in my sandbox account to host my EMR cluster/EC2 instances, for simplicity. It is your responsibility to ensure that you secure your instances, data and other resources with minimal permissions and/or according to AWS best practices.
3a - Create an EC2 Key Pair
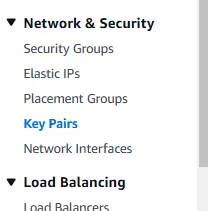
We will first create an EC2 Key Pair. In the search bar, type in EC2 and then click on Key Pairs under the Network & Security section of the left-hand panel.
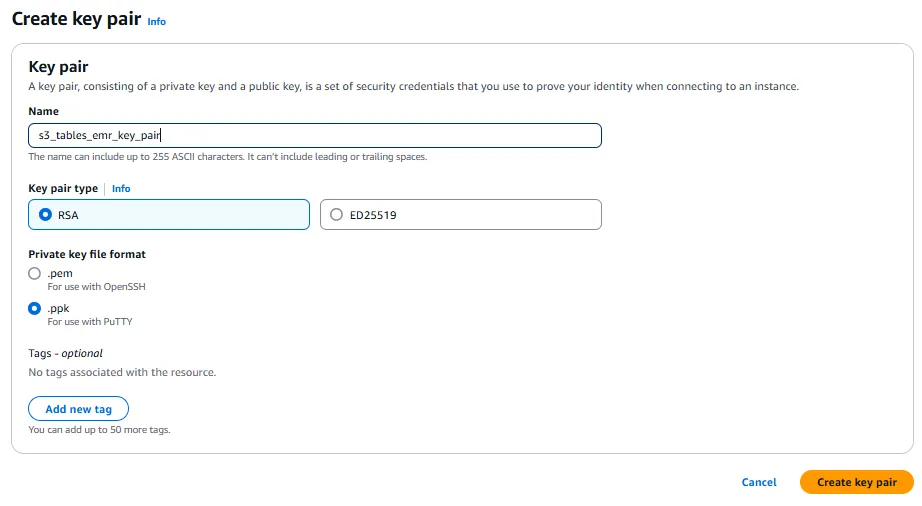
Click on the orange Create key pair button, and then enter a key pair name. Depending on how you want to connect to your EMR cluster, you can choose either a .pem or a .ppk file for your private key file format. I am using Windows with PuTTY, so I will download the .ppk file.
3b - Creating the EMR cluster
In the search bar, select EMR. Under Clusters, click on the orange Create cluster button on the right-hand side. This will start the Create Cluster wizard.
In the Name and Applications section, enter a name for your cluster. I chose s3_table_emr_cluster.
Also, click Use for Spark table metadata under AWS Glue Data Catalogue settings.
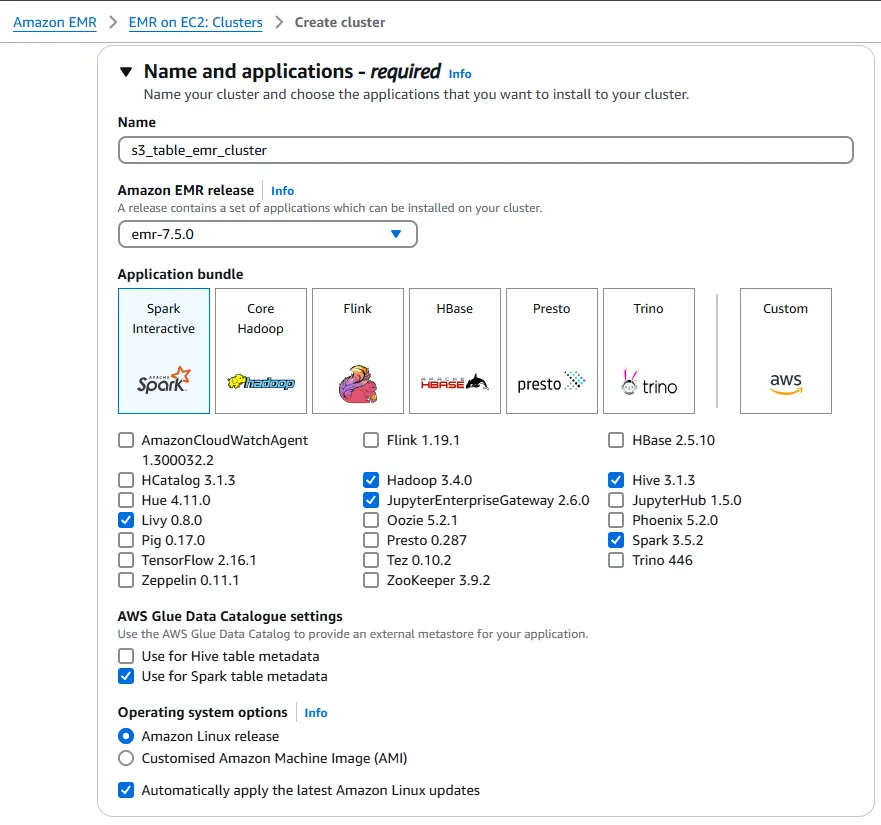
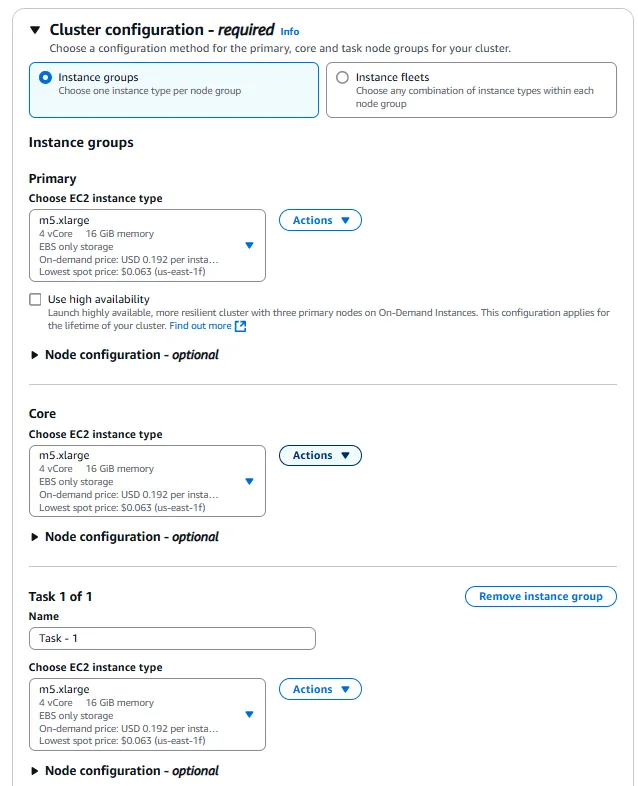
In the Cluster Configuration section, keep everything as default, with the m5.xlarge instance type for the primary, core and task nodes. Be aware that these instances do cost USD $0.192/hour each, so ensure that you terminate your EMR cluster after you have finished these steps.
In the Networking section, choose a VPC and subnet of your choice. Again, I am using the default VPC for simplicity, but I warn that you should consider the security of your infrastructure carefully.
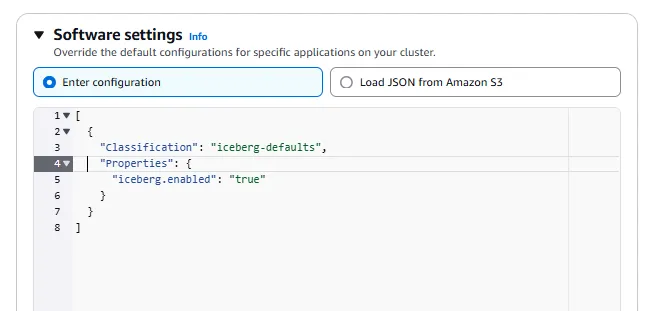
Under Software settings, type in the following JSON block:
[
  {
    "Classification": "iceberg-defaults",
    "Properties": {
      "iceberg.enabled": "true"
    }
  }
]
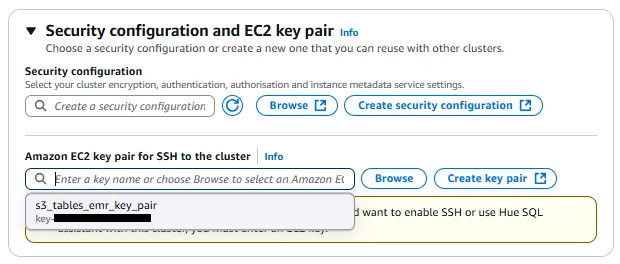
In the Security configuration and EC2 key pair section, you can optionally create a security configuration, but you must add the key pair we created earlier.
Next, in the Identity and Access Management (IAM) roles section, choose Create a service role, or use an existing IAM service role if you already have one. I will create a new one - by default, it will use my default VPC and will create security groups for the EMR primary and core cluster nodes.
Similarly, under the EC2 instance profile for Amazon EMR section, choose Create an instance profile or use an existing EMR Instance Profile IAM role. If you create a new instance profile, a new General Purpose S3 bucket for your EMR logs may be created.
Leave the Custom automatic scaling role blank.
When you have reviewed the configuration, click the orange Click cluster button.
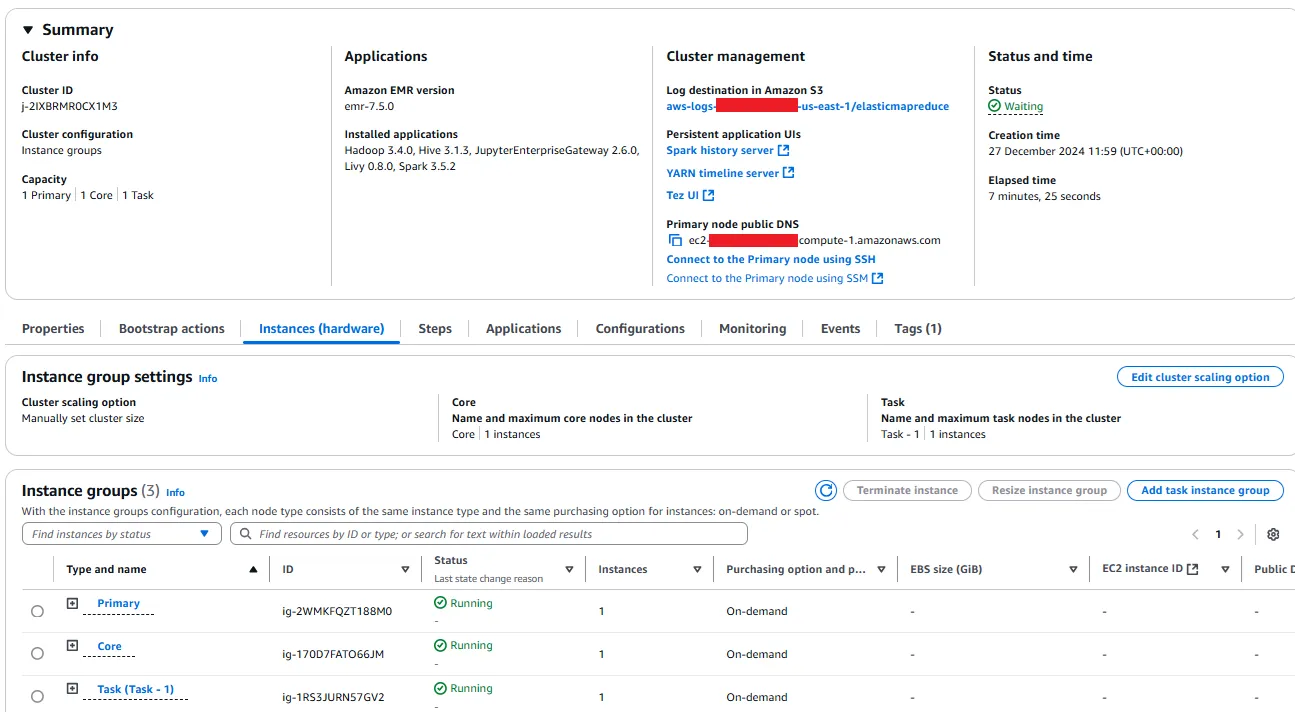
It will take a few minutes for the EMR cluster to spin up. Wait until the Status of the instances all say Running.
The Instance Profile IAM role that was created will not have S3Tables permissions by default, nor will it have access to the data file(s) you uploaded, so you need to add the following to the policy (again, this policy statement is maximal for simplicity - you should minimise access in non-sandbox environments):
    {
      "Sid": "S3TableFullAccess",
			"Effect": "Allow",
			"Action": [
				"s3tables:*"
			],
			"Resource": "*"
		},
    {
      "Sid": "S3UploadedFileReadOnlyAccess",
			"Effect": "Allow",
			"Action": [
				"s3:Get*"
			],
			"Resource": "arn:aws:s3:::<yours3generalpurposebucket>/*"
		}
Replace the bucket name in the ARN above with your own.
3c - Connecting to the EMR cluster
Now that the cluster is running, we need to connect to it, so click on Connect to the Primary node using SSH and follow the instructions for your operating system, specifying the private key file for your key pair.
You should see something similar to this:
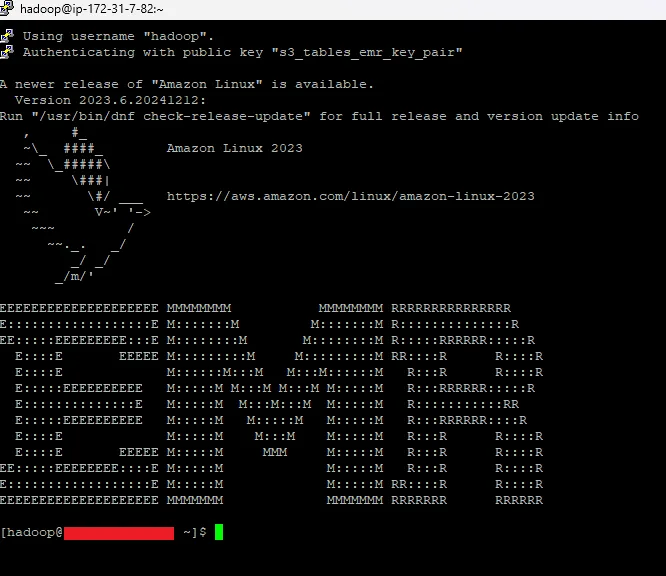
Note: if you receive a Network error: Connection timed out message then it is likely because the security group for your EMR cluster is not allowing SSH traffic from your IP address. You will need to add a new rule to one of the security groups to allow SSH from your specific IP. Again, consider the security implications of this in a non-sandbox environment. Alternatively, you could explore in-cloud solutions like Systems Manager Session Manager, CloudShell or EC2 Instance Connect, though I have not checked how to connect via these services.
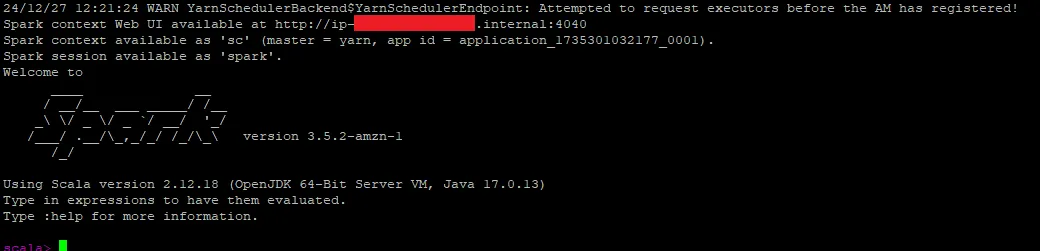
On the cluster, we now need to create a Spark Shell so that we can execute Spark commands. Make sure to replace the ARN for the s3tablesbucket.warehouse property with the ARN of your S3 Table Bucket.
spark-shell --packages software.amazon.s3tables:s3-tables-catalog-for-iceberg-runtime:0.1.3 --conf spark.sql.catalog.s3tablesbucket=org.apache.iceberg.spark.SparkCatalog --conf spark.sql.catalog.s3tablesbucket.catalog-impl=software.amazon.s3tables.iceberg.S3TablesCatalog --conf spark.sql.catalog.s3tablesbucket.warehouse=arn:aws:s3tables:<yourawsregion>:<yourawsaccount>:bucket/<yours3tablename> --conf spark.sql.extensions=org.apache.iceberg.spark.extensions.IcebergSparkSessionExtensions
Press enter, and this will create a new Spark shell.
4 - Create the Namespace
Now that we have the EMR cluster running and have connected to it, we need to create the namespace for the S3 Table.
This can be achieved using Spark SQL:
spark.sql("CREATE NAMESPACE IF NOT EXISTS s3tablesbucket.sandbox_ns")
Here, I have called my namespace sandbox_ns, but you can choose anything you want (assuming you follow the naming rules). When you execute this command, you may find that your IAM role does not have sufficient permissions to create the namespace, so you will need to go to IAM and check that your Instance Profile IAM role has the correct s3Tables privileges.
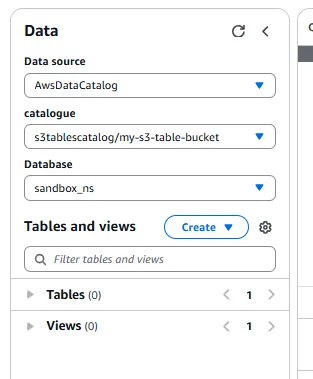
Otherwise, you should see that the namespace has been created:

In the AWS Management Console, you can go to the Athena service to see that your namespace is being treated as a Database within the Glue Data Catalog.
5 - Create the S3 Table
Let’s finally create the S3 Table. The table I will create will be called transaction_details. Replace the statement with the name and structure of the table you wish to create. Bear in mind that we are using Spark SQL, which may have different data types to other query engines.
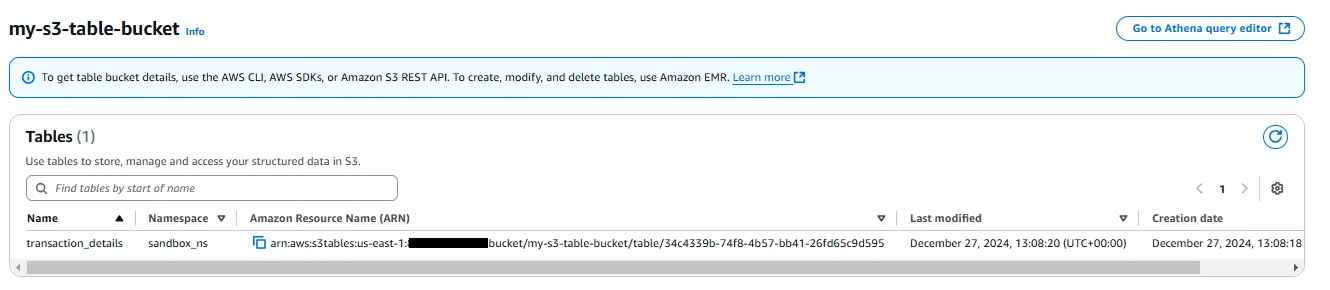
spark.sql("CREATE TABLE IF NOT EXISTS s3tablesbucket.sandbox_ns.transaction_details (transactionid STRING, productid STRING, quantitysold INT, priceperunit DECIMAL(10,2), totalprice DECIMAL(10,2)) USING ICEBERG")

If that was successful, you will be able to see the table metadata in Athena, as well as in the S3 Table Bucket.

6 - Uploading data
At the beginning of these steps, you should have uploaded to an S3 bucket the file(s) you wanted to load into your S3 Table.
Execute the following Scala code, changing:
- the path to your file in S3
- the .csv function if your file is not a CSV file
- the namespace and table name for your table
val df = spark.read.option("header", "true").csv("s3://s3-tables-testing-sandbox/transaction_details_100k_fake_data.csv")
df.writeTo("s3tablesbucket.sandbox_ns.transaction_details").using("Iceberg").tableProperty ("format-version", "2").createOrReplace()

Hopefully, everything was successful. If you encounter any issues, ensure that your EMR cluster IAM roles have the correct permissions.
Now, after all that if you go to Athena and try to query the table, you may receive the following error:
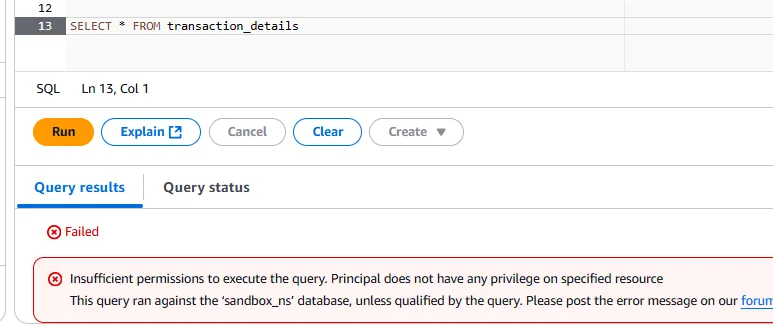
In this case, you need to go to Lake Formation and grant your IAM user read/write privileges to your table.
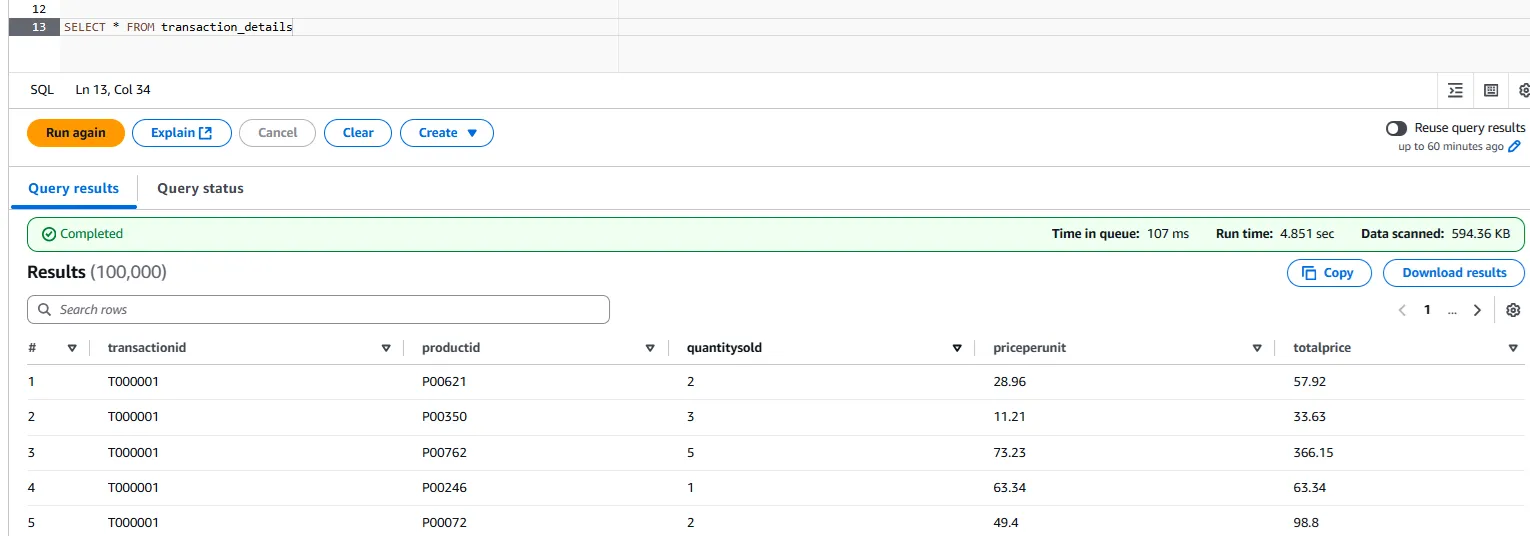
Otherwise, you will have successfully populated the table. Congratulations!
7 - Tidying Up
If you want to delete your S3 Table Bucket, Namespace and S3 Table, you will need to use a combination of your EMR cluster and/or the AWS CLI. Here are links to instructions for this:
- S3 Table - deletion via query engine or AWS CLI
- Namespace - deletion via AWS CLI
- S3 Table Bucket - deletion via AWS CLI
In the case of the S3 Table Bucket, you may find that you have to wait 1 day after the deletion of the S3 Table. This is because the deletion of the S3 Table causes its data and metadata to become non-current objects which are not cleared away immediately by AWS - attempted deletion of a bucket with non-current objects will return an error saying that the bucket is not empty.
Additionally, the EMR cluster will incur significant cost, so make sure to Terminate the cluster and check that its instances are also terminated in EC2.
Conclusion
In this post, we have illustrated the AWS tutorial for adding an S3 Table via Amazon EMR and querying it through Amazon Athena. In the future, I hope to add a further tutorial about how to do this in AWS Glue. If you would like to find out more about S3 Tables, please check out the post I made called What is an S3 Table?.
References
[1] - Amazon Web Services Documentation. Using Amazon S3 Tables with AWS analytics services. https://docs.aws.amazon.com/AmazonS3/latest/userguide/s3-tables-integrating-aws.html